A screenshot is an image that captures the content on your computer screen. It’s incredibly useful for a variety of tasks, from troubleshooting to creating tutorials, capturing important moments, or sharing information. Whether you’re working on a project, providing tech support, or documenting an issue, knowing how to take a screenshot on Windows is an essential skill.
For Windows users, screenshots can be captured in many ways, and this article will explore all the different methods—whether you’re a beginner, an advanced user, or someone interested in third-party tools.
Common Ways to Take a Screenshot on Windows
Screenshots are a fast and easy way to grab what’s on your screen. They’re ideal for tasks like creating tutorials, capturing error messages for troubleshooting, or simply saving important information without having to retype it. With multiple Windows screenshot methods available, users can choose the one that best fits their needs.
1. Using the Print Screen (PrtScn) Button
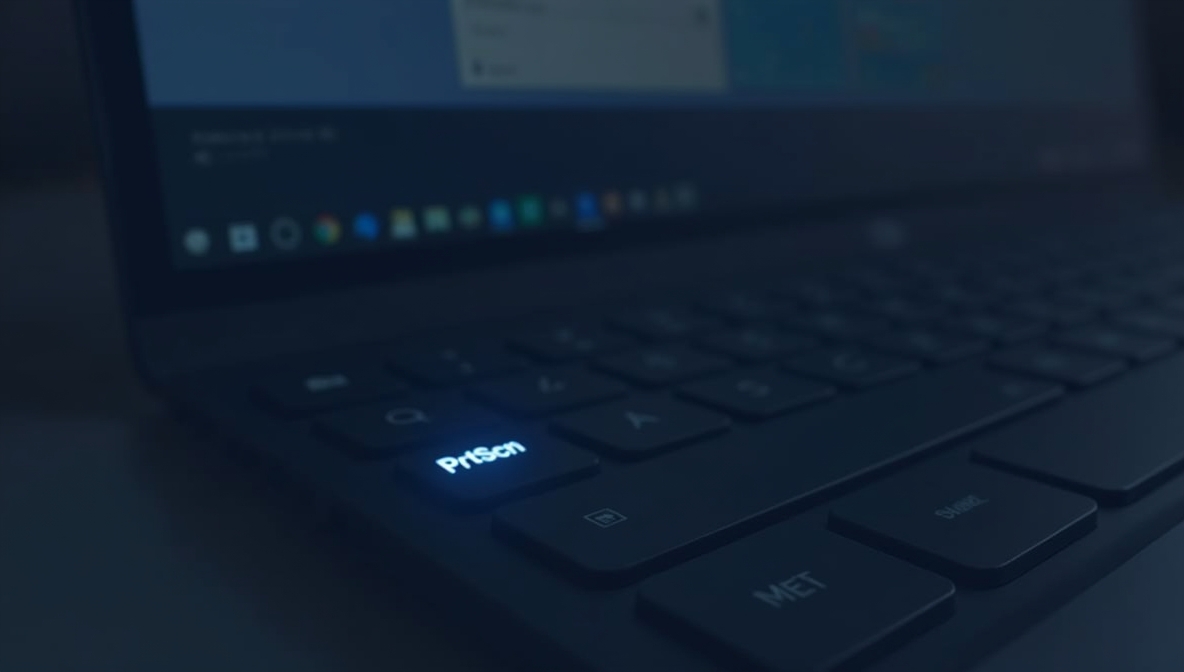
The PrtScn button is the most basic way to take a full-screen capture on Windows. Here’s how it works:
- Press the PrtScn Key: This will capture everything on your screen and copy it to the clipboard. From there, you can paste it into any program (like Paint, Word, or an email).
Variations:
- Alt + PrtScn: Captures just the active window, not the entire screen.
- Windows + PrtScn: Takes a full-screen screenshot and automatically saves it as a file in the Pictures folder.

2. Using Snipping Tool (Windows 7, 8, and 10)
The Snipping Tool allows for more precise screenshots, enabling users to capture specific areas of the screen. Whether you want to take a rectangular, free-form, or full-screen screenshot, the Snipping Tool provides flexibility.
- To use Snipping Tool: Open it from the Start menu, select the snip type you want, and capture the desired area.
Note: Snip & Sketch has replaced the Snipping Tool in Windows 10 and later versions.
3. Using Snip & Sketch (Windows 10 and Later)
For more advanced users, Snip & Sketch is a fantastic tool. Here’s how to use it:
- Windows + Shift + S: This shortcut lets you quickly capture a screenshot and choose from a rectangular, free-form, or full-screen snip.
- Editing and Annotating: After taking the screenshot, you can open it in the Snip & Sketch app to crop, draw, or highlight areas for better clarity.
This method is perfect for users who need to annotate a screenshot before sharing it.
4. Using Windows Game Bar (For Gaming and App Screenshots)
For gamers or app users, the Windows Game Bar is an excellent option for taking screenshots in Windows. Here’s how:
- Press Windows + G: This brings up the Game Bar, where you can capture a screenshot within a game or app.
The Game Bar is optimized for gaming but can be used in any application.
Advanced Screenshot Techniques on Windows
Taking Screenshots of Long or Scrolling Pages
Sometimes, you need to capture long webpages or documents. Third-party tools like ShareX and Greenshot can help you capture entire web pages or scrollable content that extends beyond the screen.
These tools offer more features than built-in methods and are perfect for users who need more control over their screenshot capture.
Using Third-Party Screenshot Tools
While built-in methods are great, sometimes you need extra features such as annotation tools, automatic uploads, or advanced editing options. Here are a few popular third-party screenshot software options:
- Lightshot: Quick and easy to use, with options for editing and sharing.
- Greenshot: Offers powerful features like capturing scrolling areas.
- ShareX: A free, open-source tool with advanced screenshot capabilities and built-in editing.
These tools provide more flexibility, especially for advanced users.
Editing and Annotating Screenshots
Once you’ve taken a screenshot, you may want to edit or annotate it. Here’s how to do it:
- Snip & Sketch: Crop, draw, and highlight areas directly within the app.
- Third-Party Tools: Apps like Snagit, Paint, or GIMP provide more advanced editing features, such as adding text, arrows, or shapes.
Managing and Organizing Screenshots
Where Are Screenshots Saved?
By default, screenshots taken with shortcuts like Windows + PrtScn are saved in the Pictures folder. However, screenshots captured with the Snipping Tool or Snip & Sketch are stored in the clipboard until you paste them somewhere.
How to Organize Screenshots Efficiently?
To stay organized, consider categorizing your screenshots by project or theme. You can also store them in cloud services like Google Drive or OneDrive for easy access and sharing.
Troubleshooting Common Screenshot Problems on Windows

Why Isn’t My Screenshot Working?
If your screenshot Windows isn’t working as expected, there could be a few reasons. Common issues include keyboard malfunctions or driver problems. Here’s what to do:
- Check your keyboard: Ensure the PrtScn key is functioning correctly.
- Update drivers: Outdated graphics drivers can cause issues with screenshots.
Screenshot Delays or Lag
If there’s a delay when taking screenshots, try the following:
- Close unnecessary programs: This may help speed up the screenshot process.
- Update your system: Ensure that your Windows OS is up to date.
Additional Tips for Effective Screenshot Use
How to Use Screenshots for Work and Productivity?
Screenshots can enhance your productivity by helping you create clear visual aids for presentations, tutorials, and reports. You can easily capture a key moment in a project and share it with colleagues.
Best Practices for Screenshot Etiquette
When using screenshots in professional settings, always consider privacy and confidentiality. Avoid capturing sensitive information and respect copyright laws when sharing content.
Final Thoughts
We’ve covered different ways to take screenshots on Windows, from easy keyboard shortcuts to more advanced third-party tools. Each method suits different needs, so feel free to try them out and see which one works best for you.
What’s your favorite way to capture a screenshot on Windows? Share your tips in the comments below, or pass this article along to someone who might find it helpful!
Common Questions People Ask
- How do I take a full-screen screenshot on Windows?
To take a full-screen screenshot, press the PrtScn key or Windows + PrtScn for an auto-saved screenshot. - What is the Snipping Tool and how do I use it?
The Snipping Tool allows you to capture a specific area of your screen. Open it from the Start menu and choose the type of snip you want. - Can I capture a screenshot of an entire webpage?
Yes! You can use third-party tools like ShareX or Greenshot to capture long or scrolling screenshots. - Where are my screenshots saved on Windows?
By default, screenshots taken with Windows + PrtScn are saved in the Pictures folder. Screenshots taken with Snip & Sketch or the Snipping Tool are temporarily saved to the clipboard. - Why isn’t my screenshot working on Windows?
Check for issues like keyboard malfunction, outdated drivers, or settings blocking screenshots. Updating drivers or restarting your computer may help resolve the issue.
